Remoting Information
IMPORTANT
Remote use is only available to cadets wih faculty permission and must be approved by department head.
VPN is no longer available to cadets and fac/staff personal machines.
Effective as of 12/11/2023
As part of our response to COVID 19, VMI IT staff enabled Virtual Private Network (VPN) access for all VMI Faculty and Staff. As part of the return to normal operations, this blanket authorization will be retired effective Monday, February 12, 2024. As of this date, individuals with a valid business requirement for VPN access will need to submit individual requests for that access.
For employees who require access to network resources when off Post, both RDP and VPN access can be requested using the IT10 form, “Update or Renew Existing Computer Account,” available through Softdocs “Etrieve.” Valid business requirements for VPN access include:
- Requiring access to a network device other than a computer (e.g., building automation controls)
- Not having a local desktop computer on Post at VMI to remotely connect to (e.g., for those who only have a laptop with docking device)
Please note that the preferred method for faculty and staff to access VMI network resources from off-Post is for them to use Remote Desktop Protocol (RDP) to remotely connect to their VMI-Provided desktop computer.
(Employees who only have a VMI issued laptop) and need the ability to remote back into VMI, VPN is recommended.
Remote Desktop Protocol\Connection (RDP) - Instructions for Windows OS
Launch
Remote Desktop Connectionon your local computer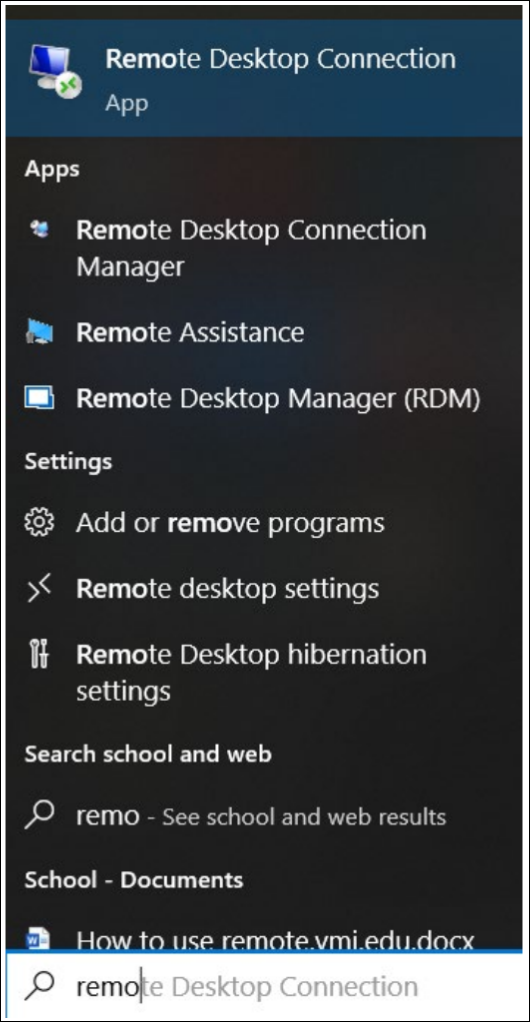
Click on the
Show options
Click on the
Advancedtab then clicksettingsunder Connect from anywhere heading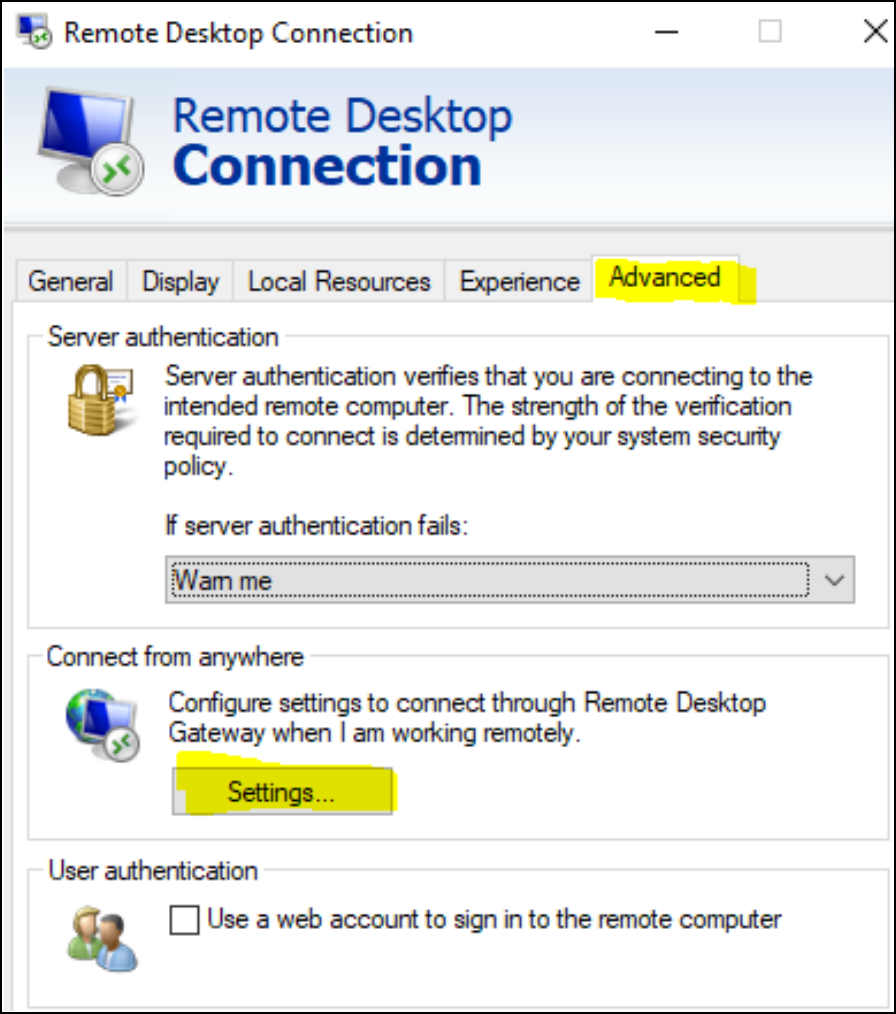
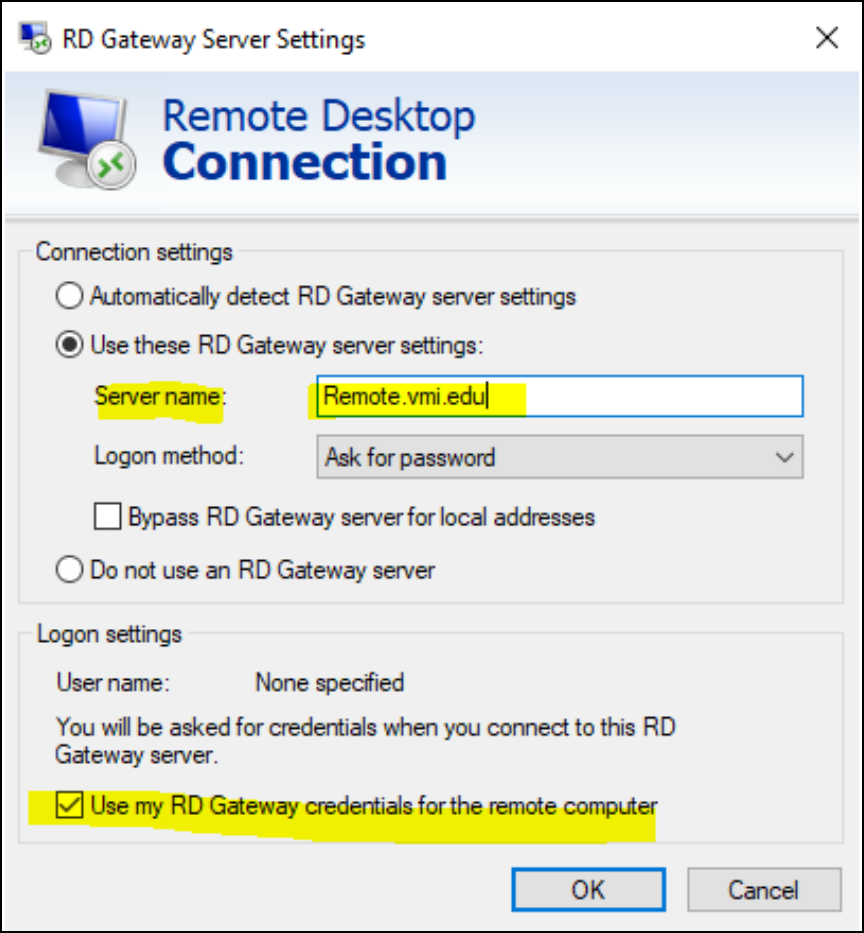
- Under Connection Settings
- Click the radio button to select
Use these RD Gateway server settings: - For
Server name:typeRemote.vmi.edu - For
Logon method:selectAsk for passwordfrom the drop down menu - Uncheck
Bypass RD Gateway server for local addressesif checked
- Click the radio button to select
- Under Logon settings
- Click and enable the checkbox for
Use my RD Gateway credentials for the remote computer
- Click and enable the checkbox for
- Click OK
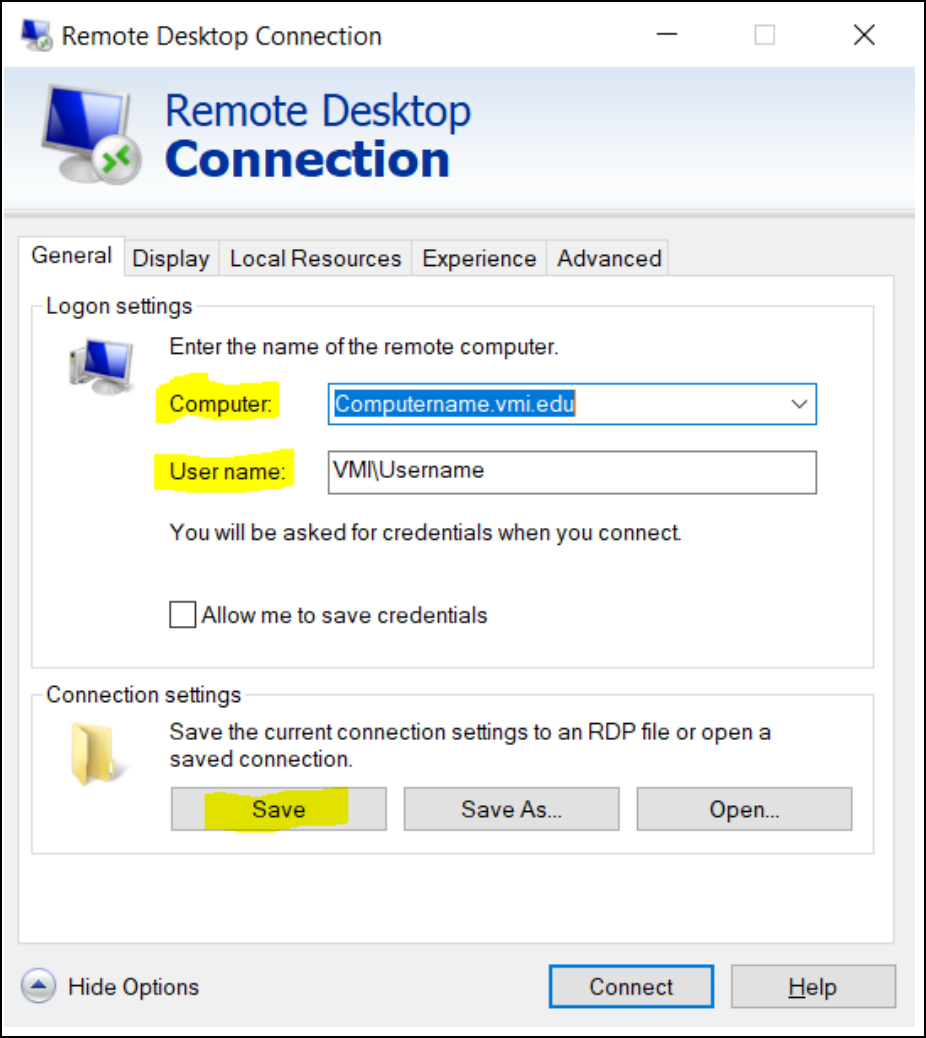
- Under Connection Settings
- Click the
Generaltab- For
Computer:in the textbox field type your VMI computer name - For
User name:in the textbox field type your VMI username (VMI\Username) - Click
Saveunder the Connection settings then clickConnect
- For
Note: Once the settings are stored by clicking save the above steps are no longer necesary
tip
To find your computer name Click the Windows Start > Settings > System > About.
Make sure you include the "VMI\" prefix when entering your username. Example: VMI\Bagginsb27
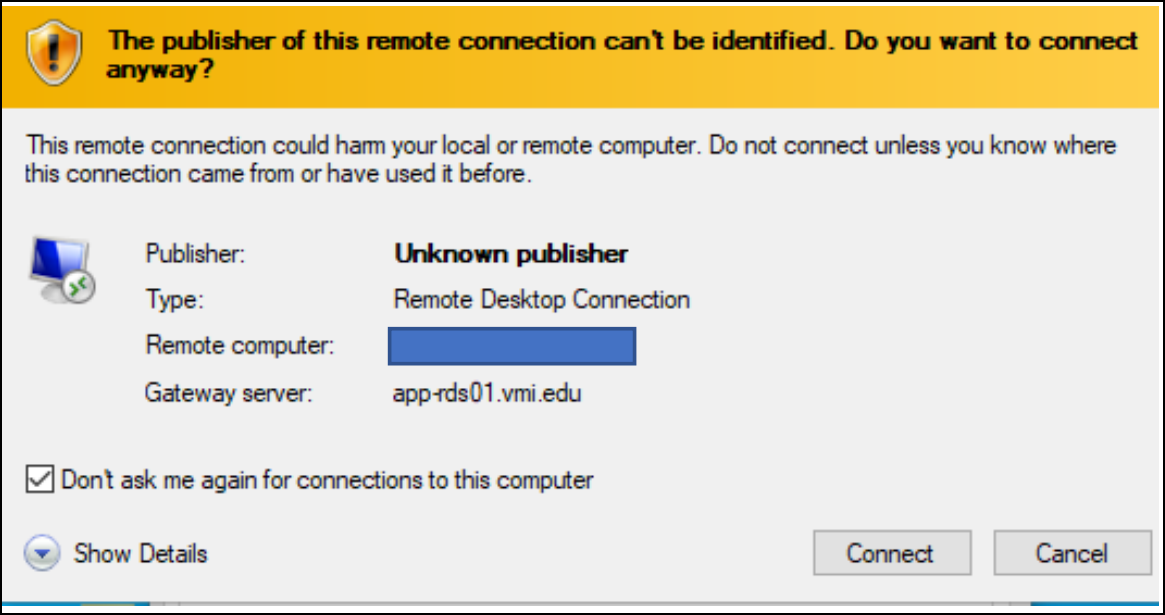
- If you recieve this dialog box check the box to the left of
Don't ask me again for connections to this computerthen clickConnect
Remote Desktop Protocol\Connection (RDP) - Instructions for MacOS
Download and install the Microsoft Remote Desktop app if not installed already from the Mac App Store
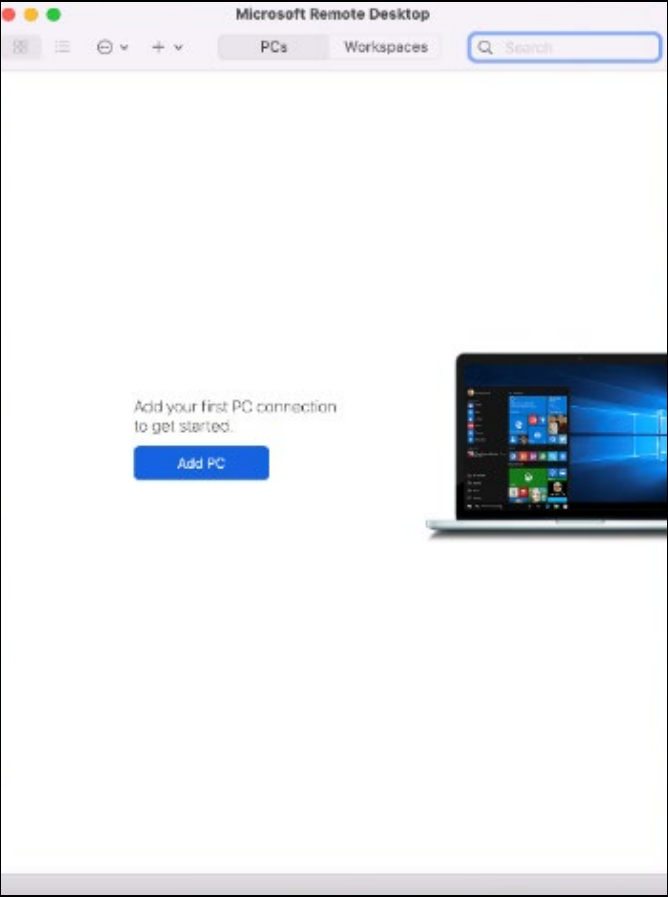
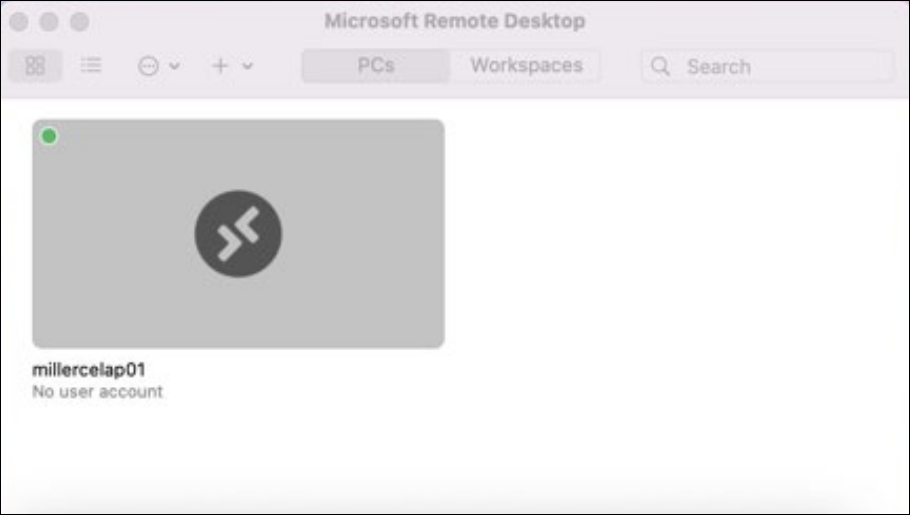
Launch Microsoft Remote Desktop app and Click
Add PC
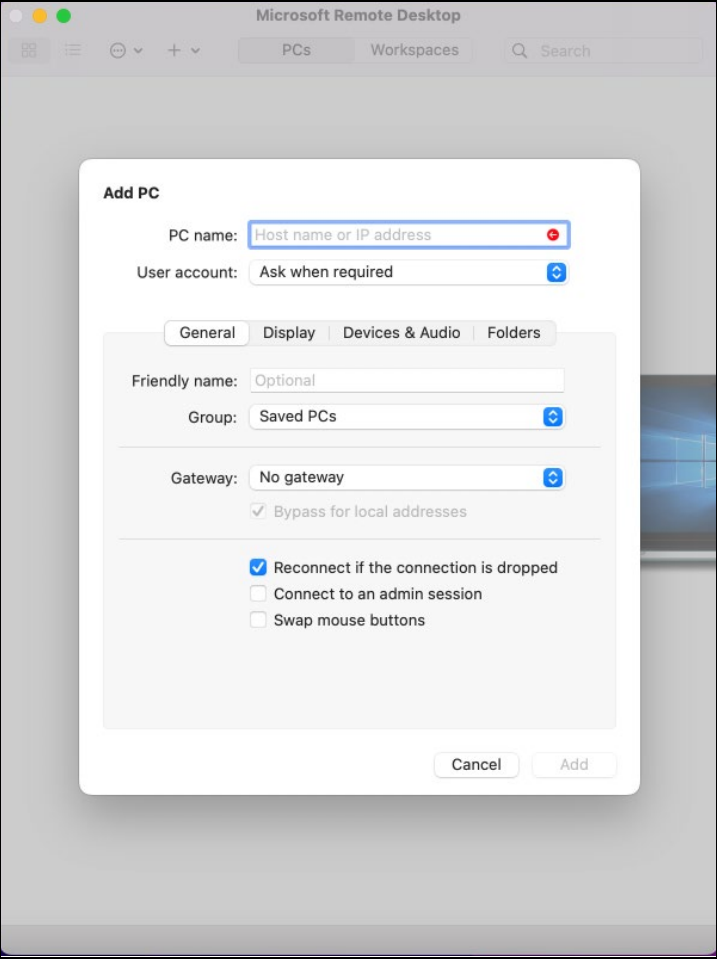
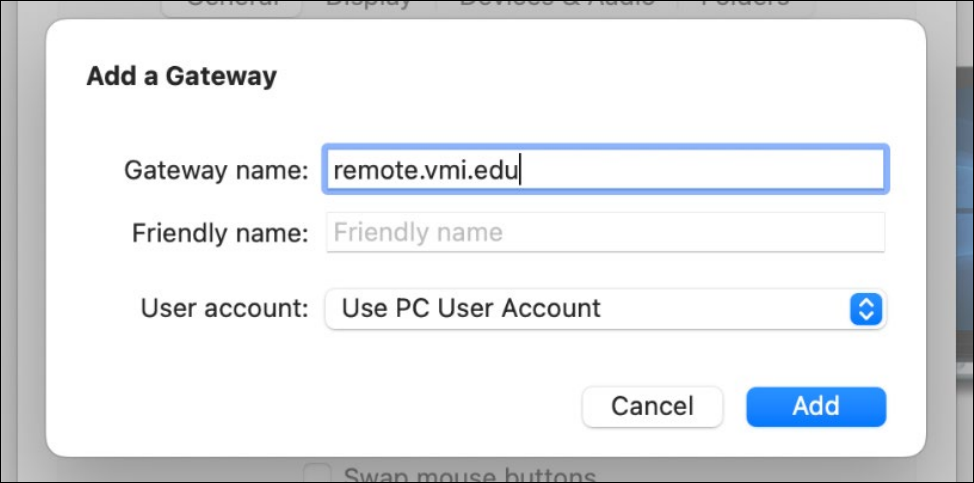
- Enter PC name. Select drop-down menu next to Gateway and select
Add Gateway. Enter remote.vmi.edu as Gateway name and select Add on Gateway Name Screen, then select Add on Add PC Screen.
- Right click the icon that looks like a screen and select
Connect
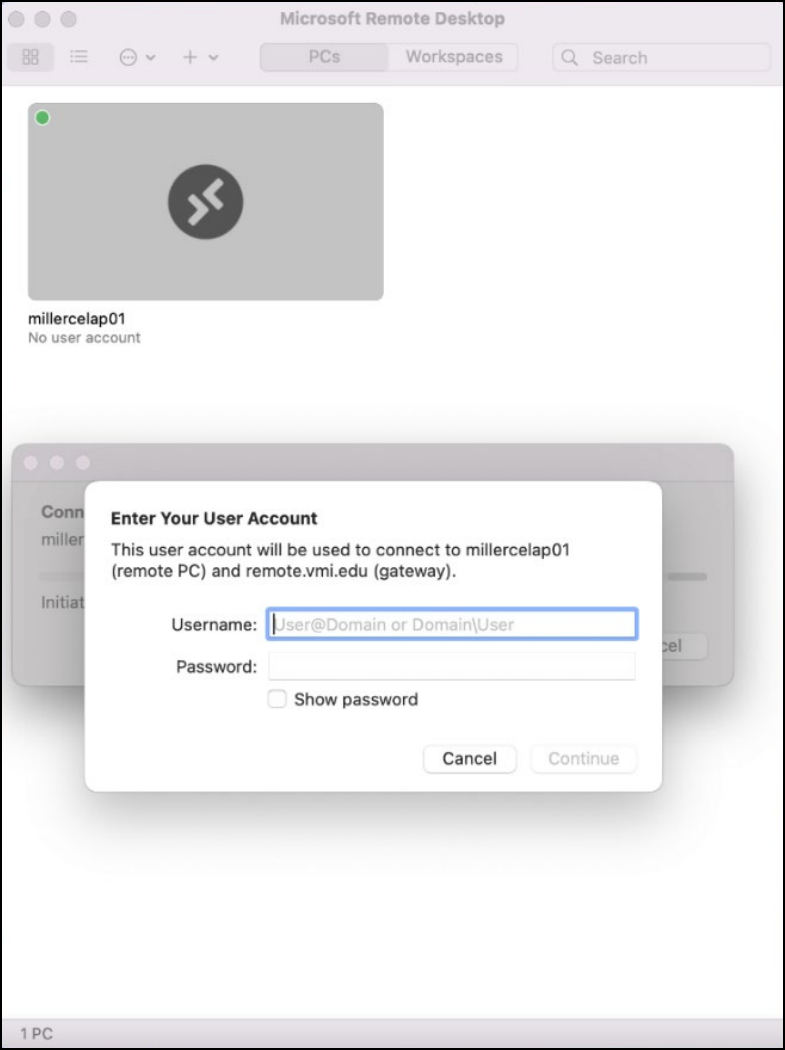
- Enter your full VMI email address and password and select Continue
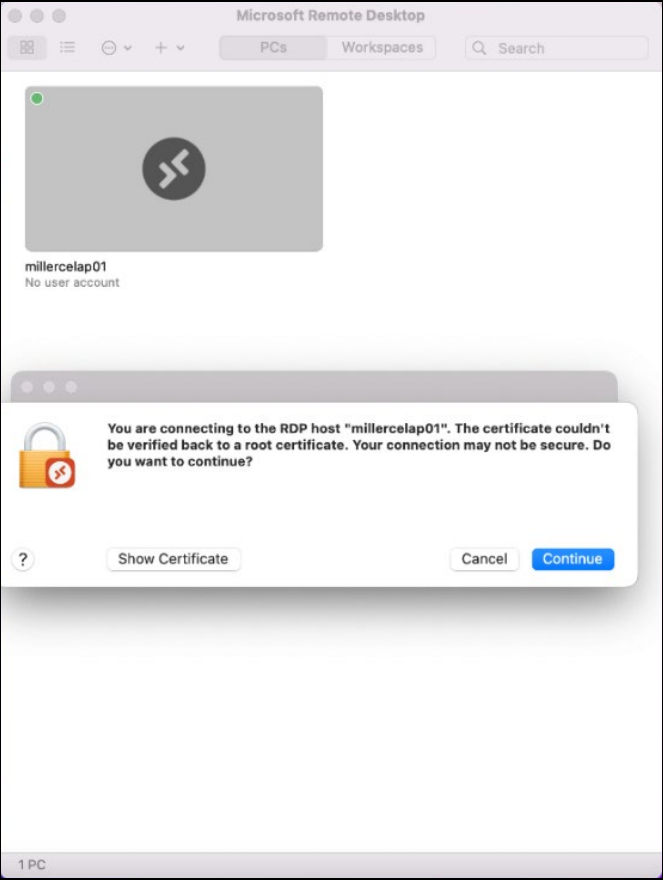
- Select Cotinue when prompted that certficate couldn't be verified.
Access VPN
VPN Instructions PDF Download Link Here
If you are having issues with downloading the above you can also download the most current instructions by following the directions below
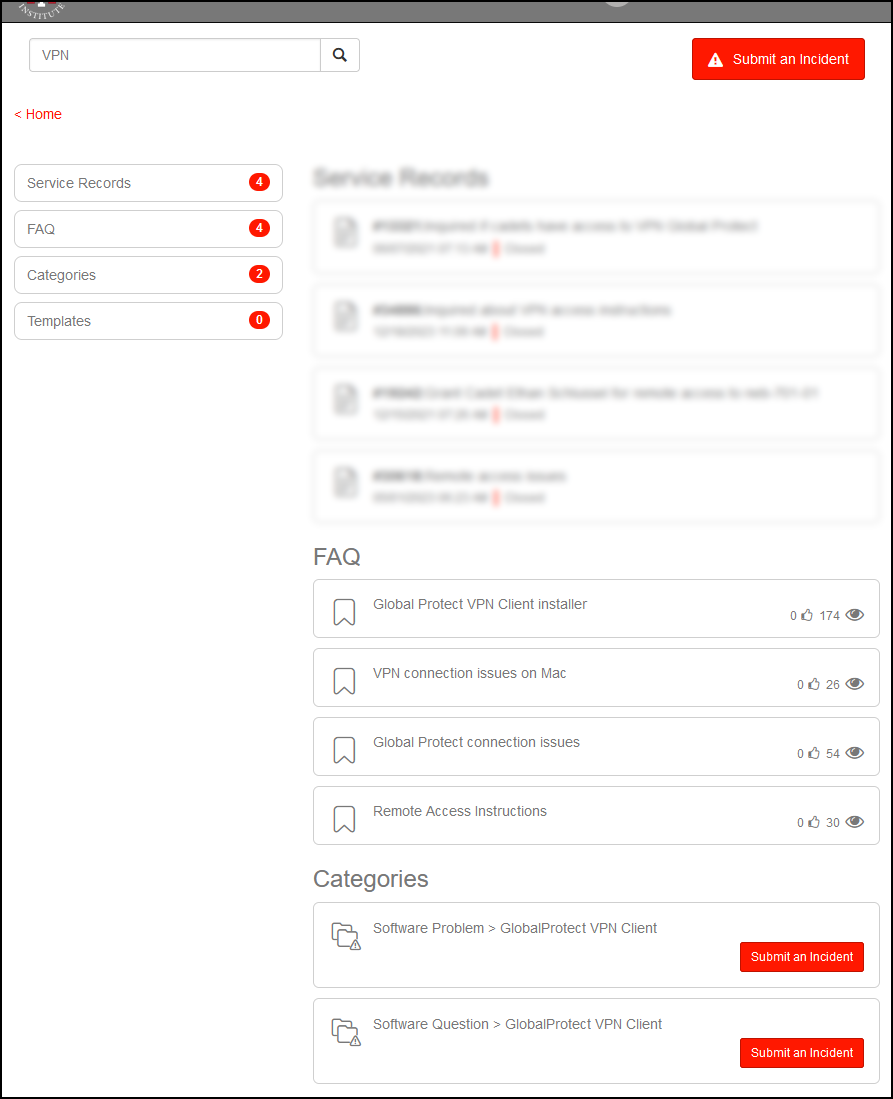
- Visit the IT Help Desk Work Order System to find most current instructions for VPN
- Enter your VMI username (eg: Bagginsb27) and password to login
- In the search field type
VPNand click search (magnifying glass icon)

- Under FAQ click
VPN Global Protect Client Installerto download the attachment to get the most current up to date instructions for VPNdanger
If you are having issues with VPN please see under the Categories heading to submit an incident
 ]
]